This past week, smoke from wildfires in Canada once again drifted southward and gave very unhealthy air in parts of the U.S. Several sources I checked indicated that it is unrealistic to expect human effort to extinguish these fires (see here , here, and here). The Canadian forests are just too huge in relation to the fire-fighting resources. What usually happens, even during a normal fire season, is that summer fires just keep burning until they are dampened down by winter rain, snow, and cold. Most of the fire-fighting efforts are devoted to saving communities that are in the path of the flames.
Thus, we may expect periodic episodes of unhealthy air for the next several months. The most hazardous smoke particles are those less than 2.5 microns in size. Particles this small make it past your body’s defenses and penetrate deep into your lungs, promoting a number of serious medical conditions. These smoke particles are made of toxic chemicals like polycyclic aromatic hydrocarbons.
What to do to protect yourself? A first line of defense is to don an effective mask, even indoors. We all probably have Chinese KN95 or Korean KM94 masks left over from pandemic days, and (properly fitted around the nose) these should filter out most of the smoke, including the particles that are less than 2.5 microns. (I prefer the more-comfortable KM94 masks, as discussed here.) These masks are supposedly about as effective as the more-rigid N95 masks that are the U.S. standard.
Air Filters in Your Furnace
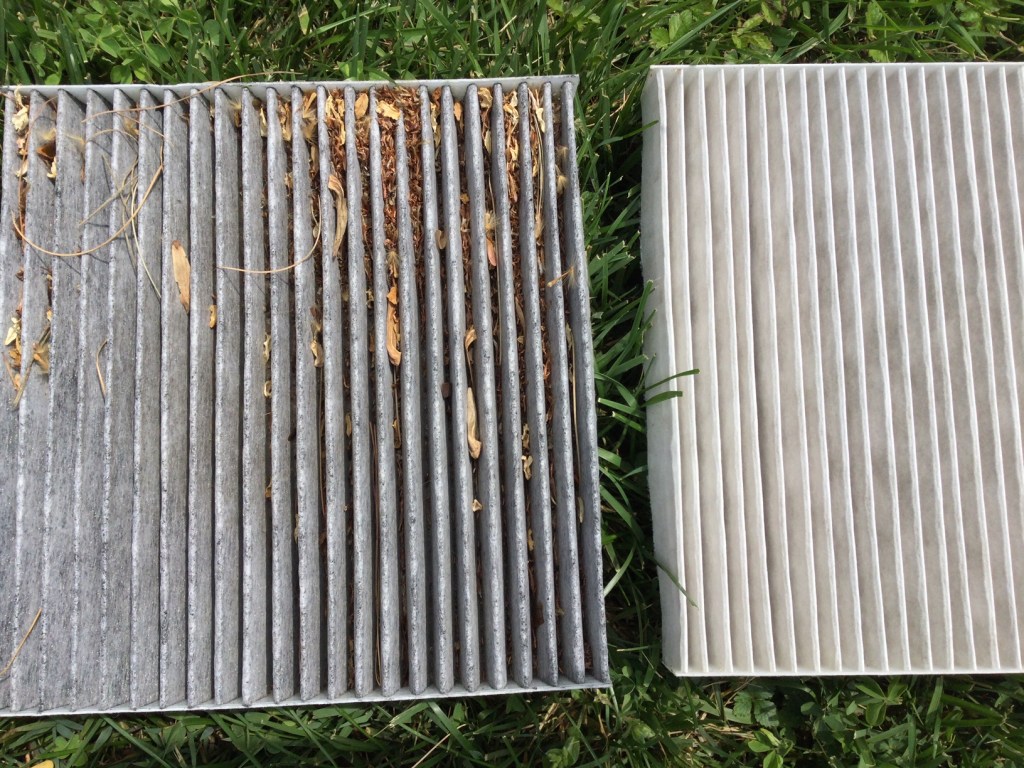
See here for some general tips on dealing with smoke in the home, e.g. damp-mop non carpet floors rather than vacuuming, to avoid shooting settled particles into the air. However, what is really needed is some means to filter the smoke out of the air in your home, otherwise over time the air inside may be as polluted as the air outside. All furnace/central air conditioning systems have a filter in the circuit. A simple solution would be to use an air filter which can catch the smoke particles. The problem here is that the better the filter is at catching small particles, the more restrictive of air flow it is.
Most air filters are rated according to MERV values. MERV 13 filters can remove most smoke particles in a single pass. Unfortunately, most home heating/cooling systems cannot handle that much restriction in air flow; the fan motor would get overloaded and perhaps burn out. One solution here is to install a parallel air filter, with its own booster fan, using a MERV 13 filter. Here, only part of the home air circulation goes through the MERV 13 filter on each pass, but with time most of the home air gets cleaned.
Another approach is to install a MERV 11 or (if your furnace is newer) MERV 12 filter in the furnace. A MERV 11 filter might only capture around 25% of smoke particles per pass, but in the course of a day your whole house air volume should pass through the filter several times. If you have a common size air filter, you can probably get a MERV 11 that would fit on Amazon or at a local big box store. For uncommon sizes, try here.
Make Your Own High-Capacity Filter Box
In addition to working with your furnace/air conditioning filter, you can buy a compact stand-alone air purifier for your home. This Shark HP202 model will provide a continuous read-out of air quality.
For even more air-cleaning muscle, you can make a box-style air purifier by duct-taping together four MERV 13 furnace air filters (four sides of a cube), and adding a box fan on top. Instructions (including YouTube links) for doing this are here, with further details here. These diagrams give the general picture:


An example of a finished product is below; note the red tape covering the outer part of the fan outlet. Blocking that outer area, giving a smaller diameter opening for the air to blow out, increases the net air flow significantly. (It prevents back-eddies of air around the edges).

It turns out that the air flow through one of these home-made air filters is so high that, even though the per-pass capture efficiency is lower than a HEPA filter, the home-made filter box can remove more particulates from a room than a store-bought HEPA filter.
I have made two of these filter boxes so far, using premium and regular filters. They have worked quite well in clearing the smoke from our rooms: the benefit is well worth the cost of parts and labor. See here for more on my experiences and construction tips.
Some on-line resources:
Accuweather seems to have straightforward reporting of air quality, including specifically the less than 2.5 micron particles. (Search on your location, then find Air Quality and click Details).
NOAA provides a real time satellite map of smoke patterns (click on “Surface Smoke”), but don’t rely on their color coding to decide whether your local condition is orange or red.
This web site from Natural Resources Canada shows locations of current wildfires in Canada. See Overlays for the meaning of the symbols; red denotes fires that are out of control. You can click Fire Perimeter Estimate to see the enormous extents of some of these fires.
